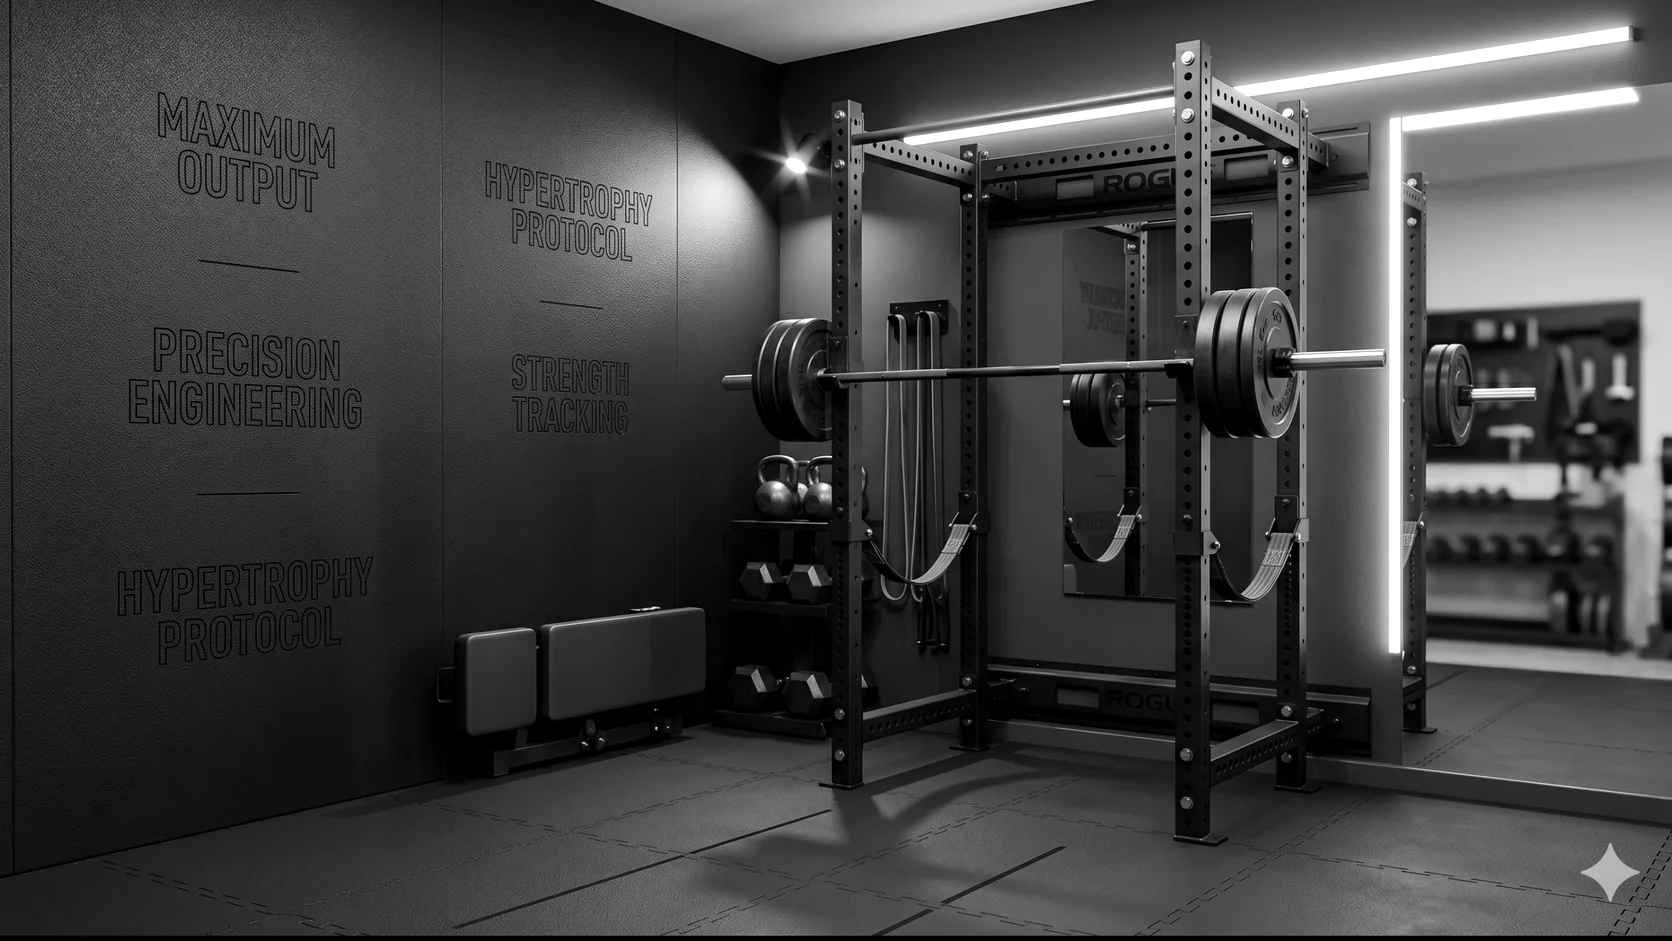
A 100-square-foot training footprint is a real constraint, but it can be planned around. This guide covers how spatial limits interact with load-bearing hardware, movement planes, and storage, and lays out a practical framework for building a compact, well-equipped training space.
A 10×10 room can house a genuinely capable strength training setup—a rack, a bar, a bench, and room to move—if the layout is planned deliberately. It won’t replicate a full commercial floor, but for barbell training specifically, the gap is smaller than the square footage suggests.
This guide covers rack and hardware selection, how to divide the room into functional zones, vertical storage to reclaim floor space, and how to reconfigure the room across different training phases.
Rack Selection: Steel Gauge and Height
The rack is the central piece of hardware in a 10×10 setup, so it’s worth getting the specification right before anything else.
11-gauge steel has a wall thickness of approximately 0.120 inches (3.048 mm) and is a common minimum standard for power racks marketed at serious home lifters. Thinner-gauge steel (14-gauge, around 0.075 inches) is more prone to flex and to fatigue at weld joints under repeated heavy loading, which is why most rack manufacturers reserve their thicker steel for higher-end models. A companion guide on this site,
11-gauge vs. 14-gauge steel, covers that comparison in more depth.
A properly specified 3×3 rack with roughly a 49-inch overall width and 24–30-inch depth occupies somewhere around 20–25 square feet of floor space once the working area around it is included—call it a quarter of a 10×10 room. That’s a significant chunk of the space, but the rack typically becomes the platform for most of the primary compound lifts, so it earns the allocation.
When shopping for a bolt-down half rack or full cage for a 10×10 space, a few specs matter most:
- Uprights: 3×3, 11-gauge steel is a reasonable baseline for serious lifters. Height varies by manufacturer: short/compact versions typically run 80–84 inches, and tall versions typically run 90–93 inches. Under a standard 96-inch (8-foot) ceiling, an 84-inch rack leaves roughly 12 inches of clearance and a 90-inch rack leaves roughly 6 inches—don’t assume a “minimum 90 inches” is right for your room; measure your actual ceiling height (including any lights, joists, or door tracks that hang lower than the drywall) and check it against the specific product’s listed height before buying.
- Hole spacing: Look for 1-inch spacing through the bench/press zone (sometimes called a Westside hole pattern) with wider 2-inch spacing above and below—this lets you fine-tune J-hook and safety-pin height without big jumps.
- Weight capacity: Manufacturers publish static and dynamic weight ratings for their racks; check the specific product page rather than assuming a number, since capacity varies a lot by gauge, upright size, and hardware.
- Footprint: Measure the exterior footprint (not just the interior working width) against your room before buying—most compact racks run somewhere in the 45–52-inch exterior width range.
- Attachment ecosystem: Compatibility with a lat pulldown, cable crossover, dip attachment, or landmine sleeve lets you add movement variety without using additional floor space.
Zoning the Room: Dividing 100 Square Feet Into Functional Sectors
One practical way to plan a 10×10 space is to think of it as three loose zones, each with its own equipment and workflow, rather than one undifferentiated room.
Zone 1: Primary Strength Area (Roughly 40 Square Feet)
This zone houses the rack and its immediate working area. Positioning the rack against the rear wall or the wall opposite the entry point tends to work well for two reasons: it gives the lifter a clear sightline into the room when unracking a bar, and it keeps the barbell’s path during a missed rep away from the door or from equipment mounted on adjacent walls.
Within this zone:
- One barbell (a standard 20 kg bar is the most common choice for a home setup)
- Plate storage on the rack’s rear uprights or a compact plate tree near the loading sleeve
- An adjustable bench, stored vertically when it’s not in use
Zone 2: Conditioning (Roughly 30 Square Feet, Optional)
If cardio or conditioning work is part of the program, a single compact implement—a foldable treadmill, an air bike, or a rower—can fit in a dedicated strip of the room without crowding the strength zone. Compact/foldable units generally keep a footprint under 20 square feet and are worth prioritizing over full-size commercial equipment in a room this size. Leave clearance on each side of the machine for safe mounting and dismounting during intervals, and keep it near an outlet.
Zone 3: Recovery and Mobility Floor (Roughly 30 Square Feet)
The remaining floor area can double as space for recovery work (foam rolling, stretching, mobility drills) and as a buffer zone that keeps the room from feeling cramped. For this area:
- Rubber flooring designed for weight rooms holds up better than general-purpose gym mats under dropped plates or heavy footfalls—thickness and durometer vary a lot by product, so check the manufacturer’s rated impact tolerance against the loads you’ll actually be dropping or setting down.
- Wall-mounted resistance band anchors at a few different heights give you flexibility for banded work without needing floor-mounted anchors.
- Keeping this area genuinely clear (rather than using it as catch-all storage) makes the room feel bigger and keeps a usable stretch of open floor available.
Vertical Storage: Reclaiming Floor Space
In a 10×10 room, floor space is the scarcest resource, so moving anything that doesn’t need to be on the floor onto the walls or ceiling is one of the highest-leverage things you can do.
Wall-Mounted Storage
Wall-mounted racks and hooks, generally installed at a height that’s out of the way of normal movement but still reachable, work well for:
- Kettlebells, on wall-mounted horn racks rated for the specific bells you own
- Resistance bands, on dedicated hooks that keep them from tangling together
- Jump ropes, rings, or a suspension trainer, on a ceiling anchor rated for the load and installed into a structural joist (have this checked by whoever installs it if you’re not confident locating joists yourself)
Overhead Barbell Storage
If you own more than one specialty bar (a safety squat bar, trap bar, or cambered bar, for example), a ceiling-mounted horizontal storage cradle rated for the bars’ weight lets you keep two or three bars off the floor entirely.
Moving ancillary equipment off the floor and onto the walls or ceiling is consistently one of the more effective ways to make a small room feel workable—exactly how much floor space it frees up depends on how much gear you’re storing, but it’s usually worth doing before assuming the room is too small.
Training Environment Basics
A few basic environmental factors are worth getting right, even without turning them into a precise science. Reasonably bright, even lighting makes it easier to see bar position and form, especially for anyone training with a mirror. A window or supplemental lighting near the rack helps more than ambient overhead light alone. Keeping the room from being either uncomfortably hot or cold matters for both performance and motivation to actually use the space—basic ventilation or a fan goes a long way in an unconditioned garage or basement. Beyond that, personal preference (music, quiet, or anything else) matters more than any specific formula.
Reconfiguring the Room by Training Phase
A 10×10 setup doesn’t have to stay arranged the same way year-round. Since different training phases emphasize different equipment, it’s worth adjusting the layout as programming shifts.
Hypertrophy-Focused Phases
- Bench moved to the center of the rack in the incline position for pressing variety
- Dumbbells pulled from wall storage into an easy-access floor position
- Conditioning equipment folded or pushed aside if it isn’t part of the current program
- Zone 3 trimmed down to the minimum footprint needed for warm-ups and cool-downs
Strength/Peaking Phases
- Bench stored vertically to open up the rack’s full depth for squat and deadlift work
- Specialty bars pulled down from overhead storage as needed
- Conditioning equipment set aside; the reclaimed floor space can be used for banded accommodating-resistance work
Deload/Active Recovery Phases
- Barbell stored overhead
- Full floor space opened up for mobility work
- Zone 3 becomes the primary zone in use for the week
Conclusion: Plan the Room, Not Just the Equipment
A 10×10 space isn’t primarily a limitation on what equipment fits—it’s a planning problem. A rack built on a reasonable steel gauge, zoned deliberately, with storage moved off the floor and onto the walls, covers the large majority of what a barbell-focused lifter actually needs.
It won’t replace a full commercial gym floor, particularly for machine variety or dedicated cardio equipment. But for the core lifts that drive most training programs, a well-planned 10×10 room gets remarkably close.
Related guides
You’re in.
Check your inbox for the checklist — it should land in a minute or two.