
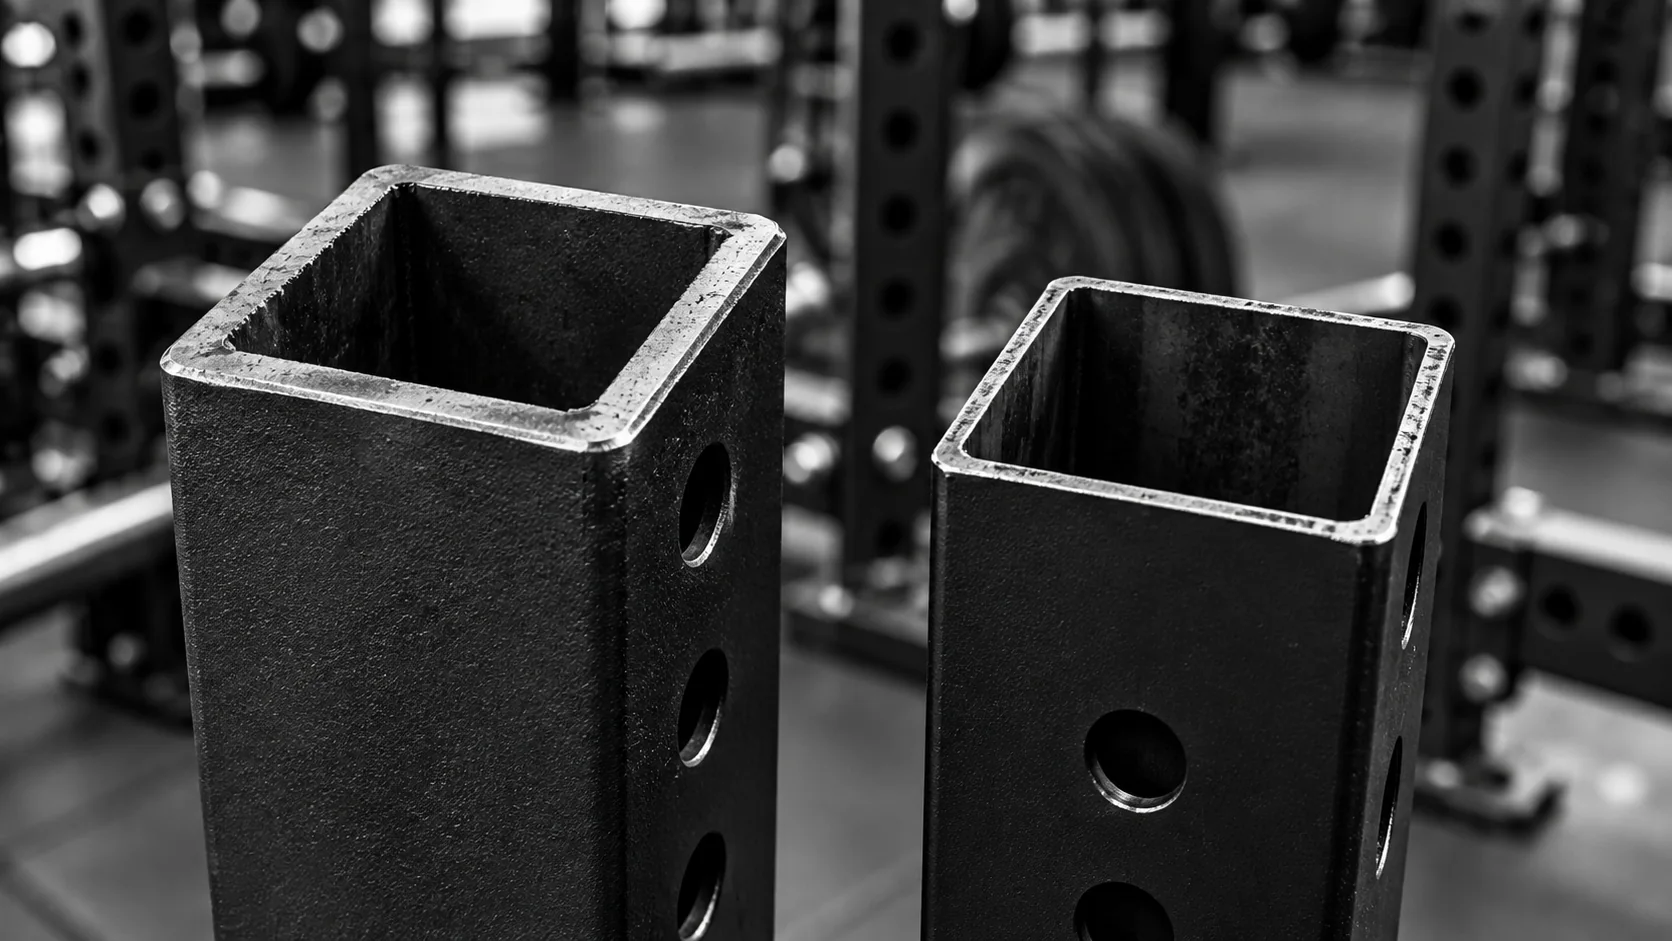
What Gauge Numbers Mean
Gauge runs backwards: a lower gauge number means thicker steel. The numbering is a historical holdover, and it trips up a lot of buyers comparing spec sheets. Using the Manufacturers’ Standard Gauge for sheet steel:- 11-gauge steel is 0.1196 inches (about 3.04 mm) thick
- 14-gauge steel is 0.0747 inches (about 1.90 mm) thick
- 7-gauge steel is 0.1793 inches (about 4.55 mm) thick, used on some heavy commercial racks
What That Thickness Difference Does to Stiffness
A rack upright’s resistance to bending comes from its moment of inertia, a geometric property calculated from the outer and inner dimensions of the tube. Working it out for a 3×3-inch square upright:- 3×3, 11-gauge: about 1.91 in4
- 3×3, 14-gauge: about 1.25 in4
Tube Size Matters as Much as Gauge
Moment of inertia rises steeply with the outside dimension of the tube, which is why upright size can outweigh gauge. Compare a 2×3-inch upright in 11-gauge steel:- 2×3, 11-gauge, bending across the 3-inch face: about 1.41 in4
- 2×3, 11-gauge, bending across the 2-inch face: about 0.74 in4
| Upright | Wall thickness | Bending stiffness (in4) | Relative to 3×3 11-gauge |
|---|---|---|---|
| 3×3, 11-gauge | 0.1196″ | 1.91 | 100% |
| 2×3, 11-gauge (strong direction) | 0.1196″ | 1.41 | 74% |
| 3×3, 14-gauge | 0.0747″ | 1.25 | 65% |
| 2×3, 11-gauge (weak direction) | 0.1196″ | 0.74 | 39% |
Idealized square-cornered tubes. Real tubing has rounded corners, which lowers each value a few percent without changing the ranking.
Static Load Ratings vs. Real Training
Manufacturer load ratings are usually static ratings: weight placed on the rack gradually and held still. Barbell training isn’t static. Re-racking a bar, catching a missed rep on the safeties, or walking out a heavy squat all add force beyond the bar’s resting weight. How much depends on drop height, bar whip, and the safety system, and there’s no single multiplier that applies across racks, so treat any blog post (including earlier versions of this one) that quotes a precise “double or triple” figure with caution. What that means in practice:- Buy with margin. Choose a rack whose rated capacity sits well above what you lift now and what you expect to lift in a few years, rather than one that just clears your current max.
- Ask how the rating was tested. A capacity number with no test method attached is a marketing figure, not a specification.
- Stiffness and capacity are different things. A 14-gauge rack can carry a lot of weight without failing and still sway noticeably during a walkout. Stiffness is about how much it moves; capacity is about when it gives up.
Is 11-Gauge the Right Minimum?
For a rack that will hold heavy squats and catch missed reps, 11-gauge 3×3 is a sensible baseline, and it’s what most established rack makers use on their mid-range and premium lines. It’s thick enough to be noticeably stiffer than 14-gauge while still being practical to cut, punch, weld, and ship.- 14-gauge makes sense for lighter-duty frames: accessory storage, bodyweight stations, or a rack that will only ever see moderate loads.
- 7-gauge adds more stiffness again, at a real cost in price and shipping weight. It’s most useful in commercial settings with many heavy users.
Steel Grade and Build Quality
Gauge isn’t the only material factor. Many rack makers use hollow structural sections to ASTM A500 Grade B, which specifies a minimum yield strength of 46,000 psi for square and rectangular tubing. Weld quality, powder coating, and hardware all affect how the finished rack holds up. Good welding won’t turn a thin, undersized tube into a stiff one, but poor welding can undermine a well-specified tube.Reading Spec Sheets: What Manufacturers Disclose
How openly a manufacturer lists its specs says a lot about the product.Red Flags
- No gauge listed for uprights, crossmembers, or base. Makers of well-built racks generally publish it.
- “Heavy-duty steel” with no number attached. The phrase means nothing without a gauge and tube size.
- Mixed gauges across the frame without saying so, such as 11-gauge uprights paired with thinner crossmembers or base plates.
- A load rating with no test method.
Good Signs
- Gauge and tube size listed for every structural member
- Steel grade or standard named (for example, A500)
- Hole spacing spelled out, such as 1-inch spacing through the bench zone and 2-inch elsewhere
- Hardware diameter and grade listed (for example, 5/8-inch or 1-inch, Grade 5 or Grade 8)
The Rest of the Structure
Hardware
The bolts joining uprights and crossmembers need to match the frame. 5/8-inch hardware is common on 3×3 racks, and a rack that pairs good tubing with undersized or low-grade bolts moves its weak point to the fasteners. The 5/8 vs 1 inch hardware guide covers compatibility in more detail.Welds
Look for consistent, complete welds. Visible porosity, undercut, incomplete fusion, or heavy spatter are reasons to question a rack regardless of its gauge.Base and Anchoring
Wide bases with multiple anchor points resist tipping better than narrow ones. For heavy squats or pressing, bolting the rack to the floor or to a platform removes rocking and tipping as a concern, and some racks require it.Bottom Line
If you’re training heavy barbell lifts, get a 3×3 11-gauge rack or better. The 11-gauge upright is about 1.5 times as stiff as a 14-gauge upright of the same size, and the 3×3 profile keeps that stiffness in both directions. Treat gauge and tube size as a pair: a 2×3 11-gauge upright is less stiff in its narrow direction than a 3×3 14-gauge one. And buy a rated capacity with room to grow, from a maker that tells you how that rating was tested.Stiffness figures calculated September 29, 2026 with the standard moment-of-inertia formula for a hollow rectangular section and checked with Wolfram|Alpha. Gauge thicknesses from the Manufacturers’ Standard Gauge for sheet steel. Values assume idealized square-cornered tubing.