

Every rack maker sells dozens of attachments, and almost all of them are useful to somebody. That’s exactly the trap. It’s easy to look at a 3×3 rack with 1-inch holes and think of it as a blank slate that should eventually hold a Smith conversion, a lat pulldown, a leg press, a landmine, a dip station, cable arms and plate storage all at once. It usually ends the same way: a cramped rack where attachments block each other, and a Facebook Marketplace listing for the one you “had to have.”
The better approach is to start with your training and your room, then buy the few pieces that actually serve both. Once you know what you need, the guide to the best power rack attachments for muscle growth helps you choose between options.
Start with the program, not the catalog
Write down what you train every week: the main lifts, the accessories you actually do, and the movements you keep skipping because you lack the equipment. Only that last list is a shopping list. If an attachment doesn’t cover something you’d program at least weekly, it’s a want, not a need. That’s fine, but it should be the last thing on the rack, not the first.
Your uprights are a budget
A rack has a fixed number of uprights and hole positions, and many attachments claim more of them than the product photos suggest. I owned the Bells of Steel Smith machine attachment (the BYOB version). It ran smoothly, but it took up two full rack uprights I needed for other things. Nothing was wrong with the attachment. I just hadn’t counted what it would cost me in space.
Makers flag these conflicts too, if you read the fine print. REP, for example, says its Smith attachment on mini front foot extensions won’t work on racks fitted with its Ares or Athena cable trolleys, and that flip-down and strap safeties aren’t compatible once the Smith is mounted inside the rack. Before you buy, list which uprights and which holes each piece will occupy, and check whether anything you already own needs the same spot.
Measure the room, not just the rack
An attachment can fit the rack and still not fit the space. Before ordering, check the things product pages don’t answer for you:
- Ceiling height for anything that stacks on top or needs overhead travel.
- Clearance in front of and behind the rack for attachments that stick out or need a loading path.
- Whether the rack is bolted down, since many heavier attachments require it.
- How often you’ll swap things on and off. Some attachments are heavy and awkward enough that you’ll leave them on for good. The Bells of Steel Smith was a two-person job to install safely, and lining up the bracket angle with the hole spacing took patience. That’s not something you want to repeat every week.
One tool, several jobs
Disclosure: the Beyond Power Voltra link below is my personal referral link. Beyond Power doesn’t run a formal affiliate program, but if you buy through it, I may receive referral credit toward my own account.
Sometimes the answer isn’t another rack attachment at all. I train with a Beyond Power Voltra 1, and I’ve used it for belt squats by standing on plyo boxes. The setup is a chore, but it covers the movement without another single-purpose attachment on the rack. A few versatile tools that you already own, used with a little creativity, often cover more of your program than a rack loaded with single-purpose pieces.
The Marketplace test
Before you buy, ask yourself one question: in six months, is this more likely to be on my rack or in a Facebook Marketplace listing? If you can’t point to where it goes in your weekly program, which uprights it will use, and what it has to share space with, you probably already know the answer.
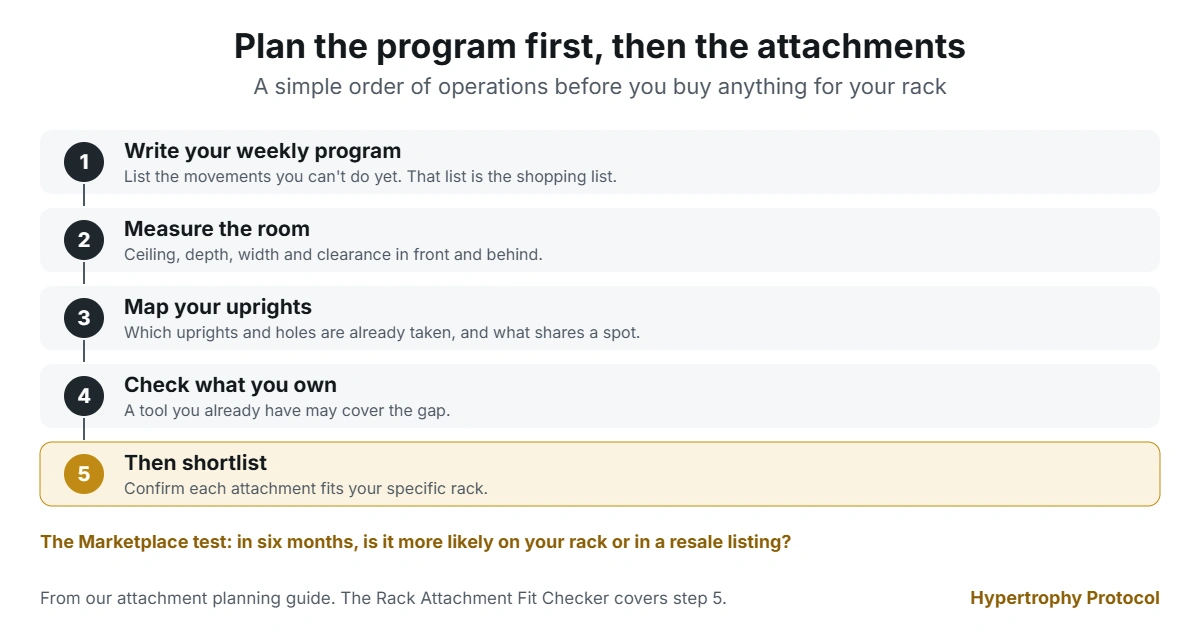
A simple order of operations
- Write your weekly program and list the movements you can’t do yet.
- Measure your room: ceiling, depth, width and clearance.
- Map which uprights and holes are already taken.
- Check whether a tool you already own can cover the gap.
- Only then shortlist attachments, and confirm each one fits your specific rack.
For that last step, the Rack Attachment Fit Checker shows which attachments are listed for your rack, which are sized to fit it, and which need a measurement first. If you’re still choosing the rack itself, the Power Rack Comparison Tool puts specs side by side, so you can pick the one that fits the room and the program before any attachments enter the picture.