
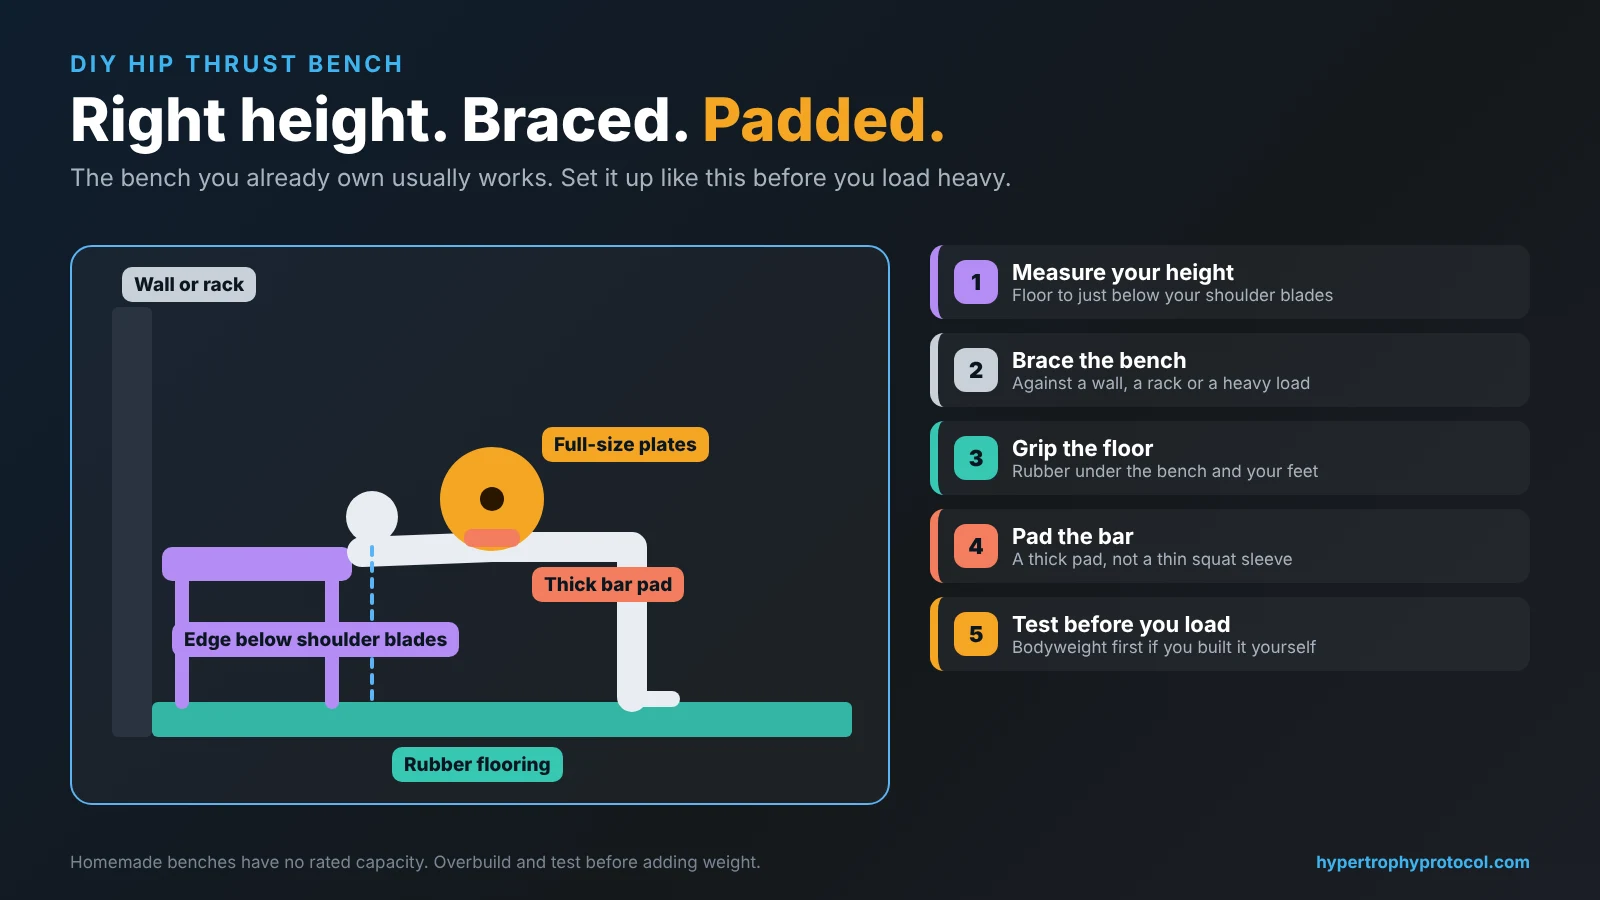
You don’t need a hip thrust machine to do hip thrusts at home. You need something solid at the right height that won’t slide or tip when you drive a loaded barbell up. Most home gyms already have it. This guide covers how to find the right height, how to stop the bench from moving, what you can use instead of a bench, and what to check if you build one yourself.
At a glance
| Verdict | A flat weight bench pushed against a wall or rack is the best “DIY” hip thrust bench for most people. Build one only if your bench is the wrong height or keeps sliding. |
|---|---|
| Right height | The edge should land just below your shoulder blades when you sit on the floor with your back against it. Measure yourself rather than copying a number. |
| Biggest risk | The bench sliding back or tipping mid-rep. Brace it before you add weight. |
| Evidence | The barbell hip thrust grew the glutes about as much as squats in a 2023 MRI trial. The bench is just the support. Its brand doesn’t matter. |
| Main caveat | A homemade bench has no load rating. Overbuild it, test it unloaded, and add weight gradually. |
Checked October 29, 2026.
Why the bench setup matters

The barbell hip thrust is one of the best-supported glute exercises. In a 9-week MRI trial by Plotkin and colleagues (2023), it grew the glutes about as much as back squats. A good setup doesn’t make it more effective, but a bad one makes you skip it or hold back on load. That’s the problem a dedicated machine solves, and a well-set bench solves most of it for free. The barbell vs Smith vs machine guide compares the options.
Step 1: find your bench height
- Sit on the floor with your knees bent and your back against the bench edge.
- The edge should sit just below the bottom of your shoulder blades. Your upper back should pivot on it as you rise.
- If the edge hits your neck or the middle of your shoulder blades, it’s too tall. If it sits on your lower back, it’s too short.
- Measure from the floor to just below your shoulder blades. That’s your target height, including any pad.
Many flat benches are on the tall side for shorter lifters. You can raise yourself with a firm mat or low platform under your hips and feet. To make a short bench taller, add a firm, secured pad, not a loose cushion.
Step 2: stop the bench from moving
As you drive up, your back pushes the bench away from you. Brace it before you load heavy:
- Against a wall or your rack. The simplest fix. Put the bench lengthwise against a wall, or push its far side against your rack uprights.
- On rubber flooring. Rubber grips far better than bare concrete or wood. The home gym flooring guide covers mats.
- Load the far end. A heavy plate or kettlebell on the far end of the bench adds stability if you can’t brace it.
- Sideways to the bench. Thrusting across the side of a flat bench, not its end, usually gives a wider, more stable base.
Step 3: pad the bar
Use a thick bar pad or a folded mat across your hips. A thin squat pad is usually not enough for heavy thrusts. Full-size bumper plates also help, because they let you roll the bar over your thighs instead of lifting it. The plate calculator shows what fits on your bar.
What you can use instead of a weight bench
- A sturdy plyo box on its correct side for your height, braced against a wall.
- A rack-mounted thruster bench or pad, if your rack line offers one. These take no floor space. Check fit with the rack attachment fit checker.
- A stack of firm bumper plates for glute bridges, where the back is on the floor and no bench is needed.
Avoid furniture with wheels, folding chairs, couches with soft edges, and folding benches that can tip sideways. If it shifts when you push it by hand, it will move under load.
Building your own hip thrust bench
If you do build one, these points matter more than any plan:
- Height first. Build to the height you measured, including the pad.
- Wide, heavy base. The base should be wider and deeper than the backrest so it resists tipping when pushed from one side.
- Solid materials and joints. Thick plywood or solid lumber, glued and screwed. Don’t rely on nails or brackets alone.
- Rounded, padded edge. The top edge takes your whole upper body’s force. Round it and pad it with firm foam and vinyl.
- Grip underneath. Rubber feet or a rubber base layer to stop sliding.
- Test before loading. Do bodyweight reps first, then light loads, and check for movement, creaks or cracks before adding weight.
A homemade bench has no tested capacity, so be conservative. If you’re unsure of your build, a commercial flat bench or a hip thrust machine is the safer choice. The hip thrust machine buying guide lists verified specs, and the dimensions page shows how much space each one needs.
Quick setup checklist
- Bench edge just below your shoulder blades.
- Bench braced against a wall, rack or heavy load.
- Rubber flooring under the bench and your feet.
- Thick bar pad, full-size plates if you have them.
- Feet flat, shins close to vertical at the top, chin slightly tucked.
Bottom line
The best DIY hip thrust bench is usually the flat bench you already own, at the right height and braced so it can’t move. Fix the height with a mat or platform, brace the bench against a wall or rack, and use a thick pad. Build your own only when you need a specific height or stability, and if you do, overbuild it and test it before you load it.
Checked October 29, 2026. Homemade equipment has no rated capacity. Build and use it at your own risk, and stop if anything moves, creaks or cracks. This is general training information, not engineering or medical advice.
Sources
- Plotkin DL, et al. Hip thrust and back squat training elicit similar gluteus muscle hypertrophy and transfer similarly to the deadlift. Front Physiol. 2023. doi:10.3389/fphys.2023.1279170